
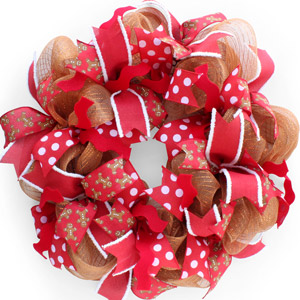
Merry crafty days! This holiday season, we’re decorating big, bold, and spicy with a gingerbread inspired deco mesh Christmas wreath.
Make Your Own Gingerbread Inspired Christmas Wreath
You’ll Need
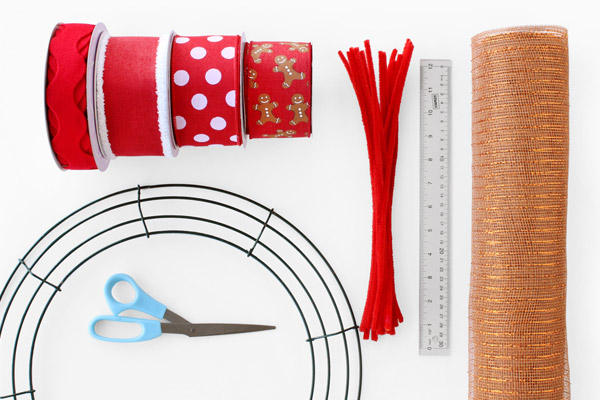
- Round Box Wire Wreath Frames
- Old Gold Metallic 21″ Deco Mesh
- 12” pieces of Red Gingerbread Wired Ribbon
- 12” pieces of Red / White Fluffy Edged Ribbon
- 12” pieces of Red / White Polka Dot Linen Wired Ribbon
- 12” pieces of Red Giant Felt Ric Rac Ribbon
- Pipe Cleaners
- Scissors
- Ruler
Here’s How To Design Your Wreath Using Deco Mesh
Just a note: Your base will be the easiest and most important part of this project! The trick is to completely cover your frame and periodically fluff your deco mesh out to create volume.
- First, prepare your Christmas wreath frame using your pipe cleaners. Evenly space your pipe cleaners around the frame. On our frame, we use 8 pipe cleaners on the inner frame and 8 on the outer edges.
- Next, make your base by starting with the inner part of your frame. Simply, gather the edge of your deco mesh and attach it to your frame using the pipe cleaners. As you attach your deco mesh, start shaping your loops. We use about 9 inches of deco mesh to create a single loop. This little trick ensures full wire frame coverage and maximum volume. Continue this step until the inner part of your frame is fully covered.
- Once your inner frame is fully covered, move onto the outer edges of your frame. Continue until completely covered. Once fully covered, trim your deco mesh and tuck the loose end into your wreath.
- Next, prep your embellishments by trimming each of your ribbons to 12”. To create a festive look all around our wreath, we cut 8 ribbons from each pattern.
- Finish ribbon edges by simply folding each end in half and trimming at an angle. This gives you that charming V-shaped finish.
- Once the ribbon edges are finished, begin attaching them to your wreath! Choose two styles of ribbons and layer them onto each other. Cinch the center and attach your ribbon to the frame using the pipe cleaners. If your pipe cleaner ends are too long, trim. Continue until all your ribbon embellishments are attached.
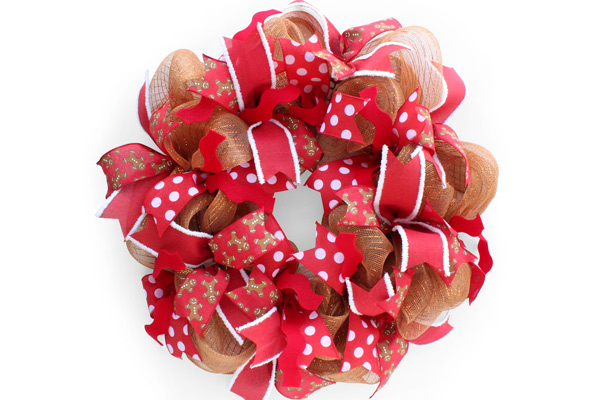
- Once you’ve finished attaching your ribbon embellishments, step back and examine your handiwork. Don’t be afraid to fluff your loops out a little more. The bigger, the better!
- Finally, display to your heart’s content!
Additional Embellishments
Wreaths are great because you can personalize them with all the whimsy in the world. Here are a few of our other favorite embellishments that we like to deck our wreaths with.
- Simple Christmas Patterns | Printed patterns are an easy way to incorporate a specific theme or message into our wreaths.
- Christmas Ribbons In Sheer Fabric | Sheer fabrics offer an elegant and unique layer to our decorative craft projects.
- Rustic + Natural Inspired Textures | Rustic textures and accents add a comforting element to our decor.
Are you making your own creative wreaths this season? We’d love to see it! Use the social tag #mypapermart to share. If you loved this how-to, stay tuned! We’re looking forward to helping you upgrade your decorations this holiday season with more DIY craft videos, product features, and tips for small businesses.