Add some whimsy and magic to your interior decoration with this DIY wood slice butterfly! It’s excellent for teenagers of all ages. In addition, this can be a fun and easy-to-make craft that’s excellent for any budding creator or nature lover! With simply some straightforward steps, you’ll have a gorgeous butterfly to hold in your home or offer as a present. Better of all, no two butterflies will be alike; thus, you’ll be able to alter yours if you wish.
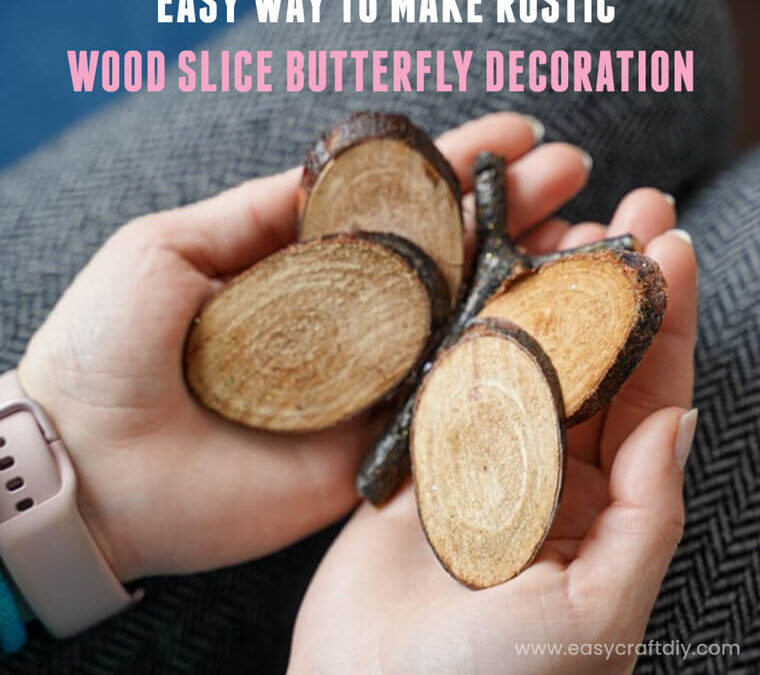
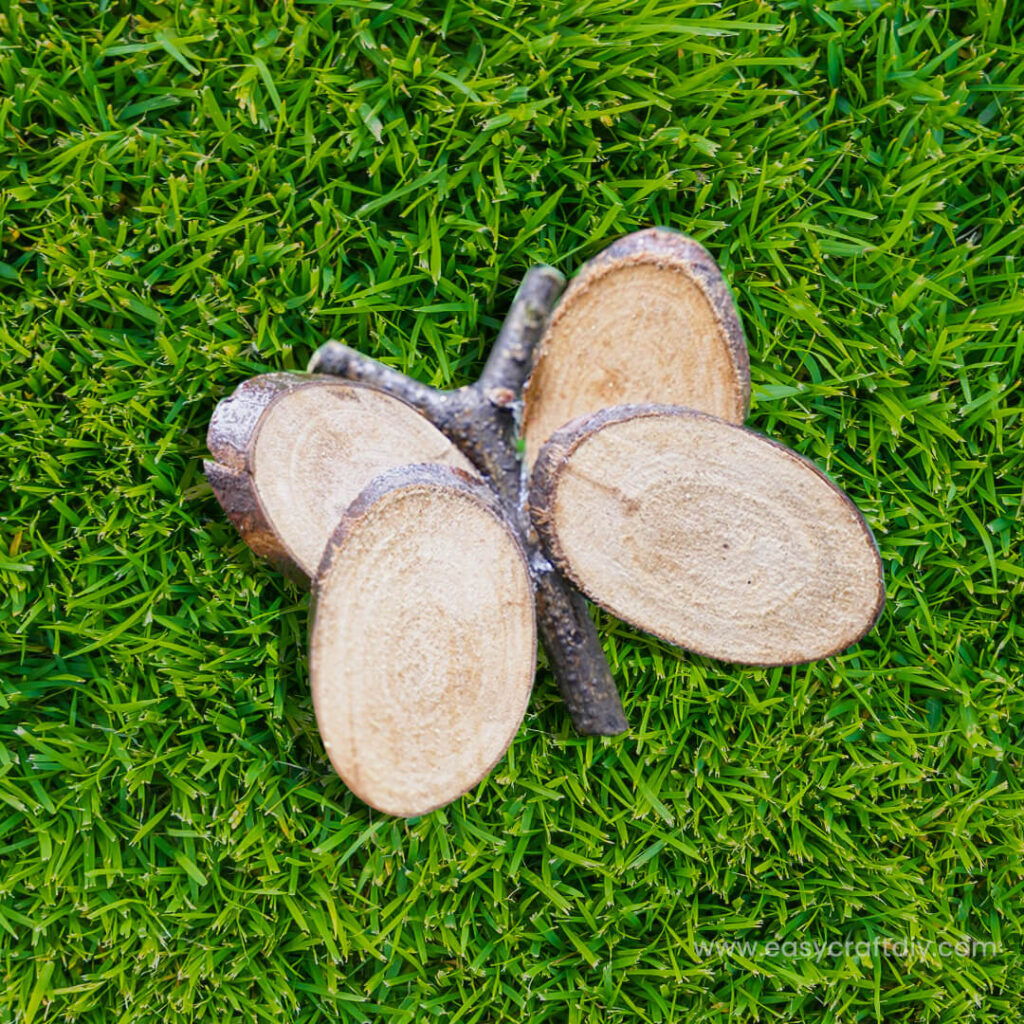
Wood Slice Butterfly
The best part of this craft is that it is often much free. So, if you have already got hot glue reachable, then all you’ve got to try and do is rummage a touch in your curtilage for the scrap wood to form this lovable, tiny Wood Slice Butterfly!
Step by Step Craft Tutorial to make Wood Slice Butterfly
We love that this uses up scrap wood and are some conjointly rustic things. The country looks super every day in interior decoration of late, and it goes friendly with kids’ nature walks and lessons around butterflies in class. Plus, it teaches all the importance of upcycling or repurposing things you would possibly otherwise have unnoticed or thrown away.
We love operating with wood slices. There are such a large number of things that may create. As a bonus, the wood slices are low-cost to shop for and might even be made up of branches in your yard. If you’ve got leftover wood slices, you’ll be able to save them to create these wood slice Easter bunnies or maybe these lovable wood slice owls.
What ought we take advantage of to connect This?
You want to create positive that you are just employing a strong glue. We like to recommend victimization hot glue to carry the wood items along; otherwise, you will use wood glue. Victimization is one thing sort of an excellent ape glue, or an E6000 style of bond are often wont to keep the wood slices along.
While you wish youngsters to assist with this project, it does not work with college glue. So, use caution and supervise them if they’re those doing the gluing, despite what style of bond you finish up grabbing to be used with this project.
How are we able to customize our Wood Butterfly?
When we work with wood slices, my vogue is to depart them. We like the method the country looks works with wood. We prefer to visualize the wood grain shine. However, loads of individuals choose to amend up style the planning} and add additional design to the wood butterflies. Below are some excellent ideas for this project that you would possibly wish to undertake with yours.
Paint or stain wood slices to a precise color to match your interior decoration. However, if you don’t have a stain reachable, don’t wish the solid paint; skinny out any acrylic craft paint with water. Instead, it’ll add a lightweight coating that permits the wood grain to indicate through.
Add glitter spray or glitter around the edges for a touch of sparkle.
Use wrong ‘un eyes on the branch within the center to form a cartoonish look on the butterfly.
Color the wings with sequins or beads during a distinctive pattern reflected on each side.
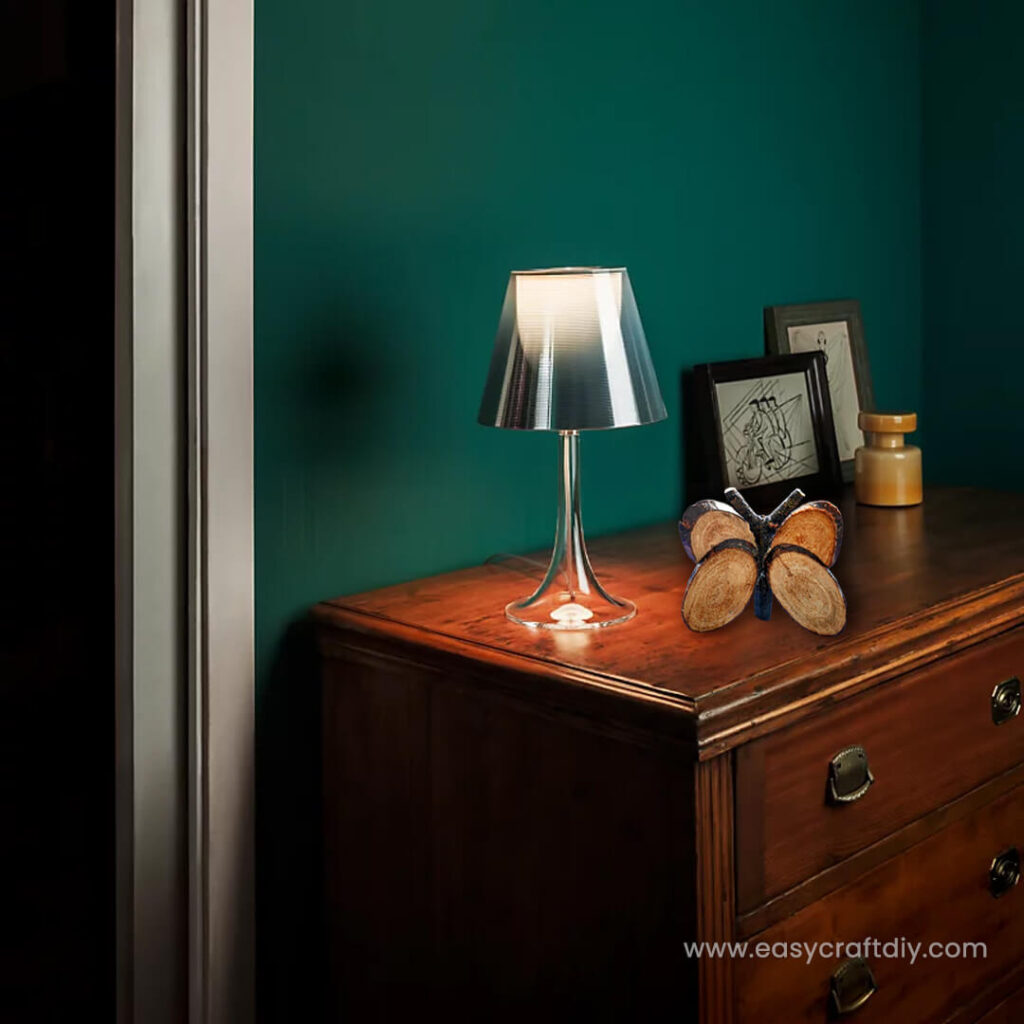
Where ought we show This?
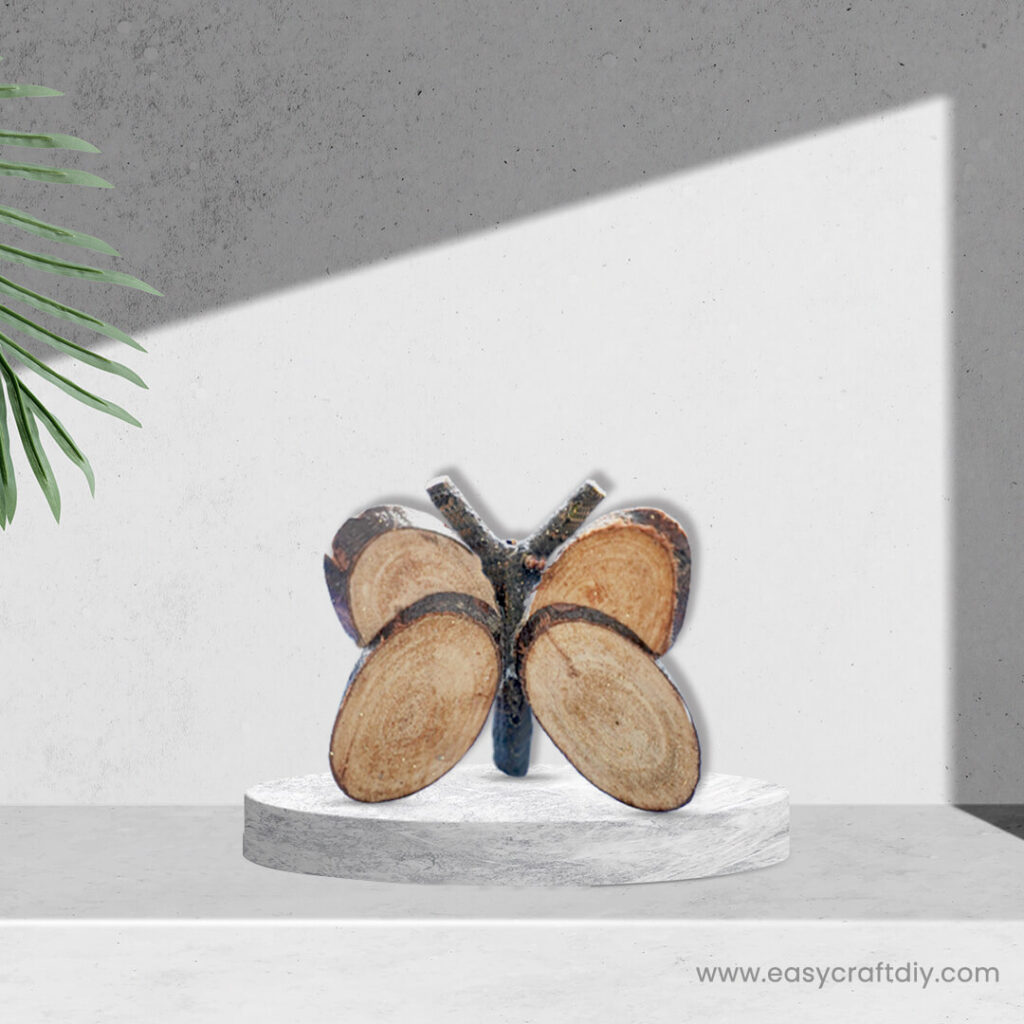
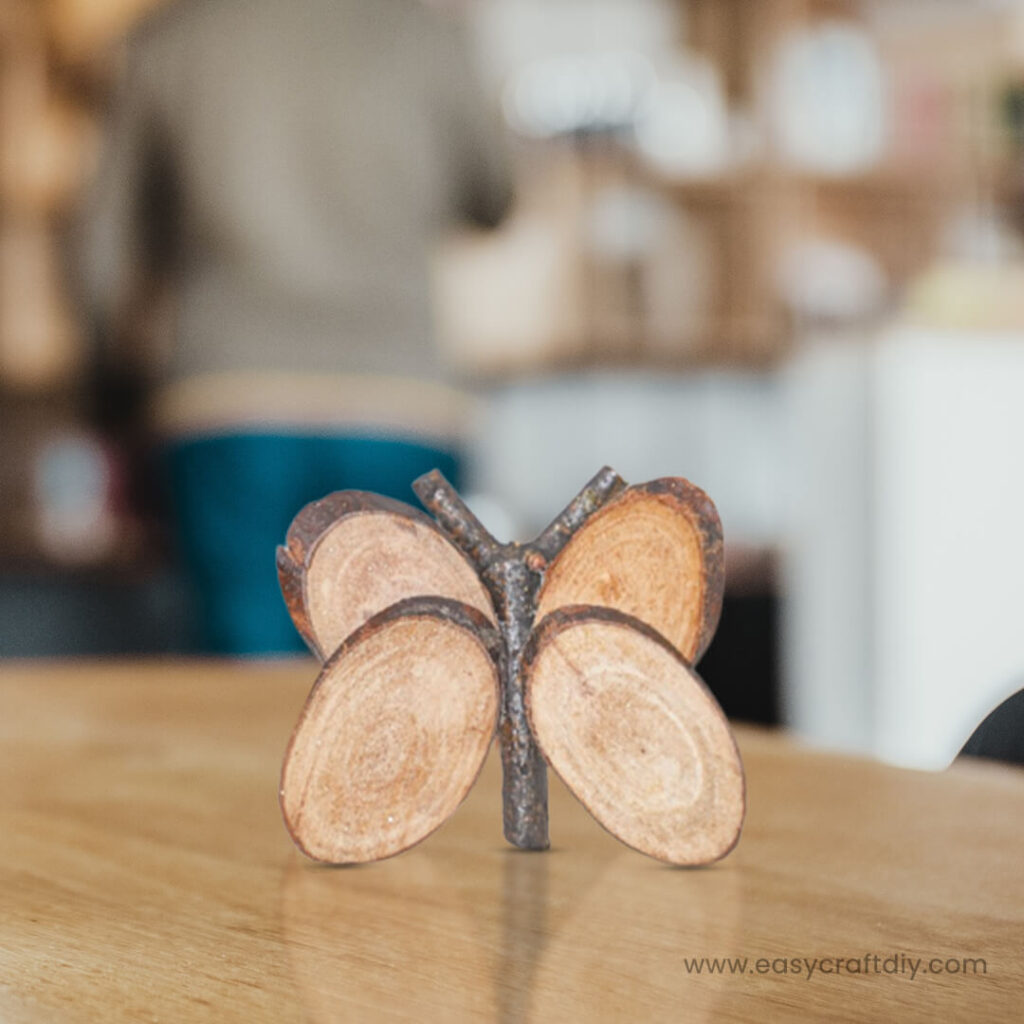
This butterfly can look thus pretty sitting on the mantle or a shelf. You’ll be able to conjointly use the butterfly as a part of a country’s centerpiece. Add some artificial flowers around the base or count on them; however, if you would like to vary the centerpiece style, you’ll be able to use real cut flowers conjointly.
You can conjointly produce this butterfly to show as a part of a garden style. If you’re going away, the planning is natural, and it’ll last for a few times as a part of the landscape before it appears worn or disintegrates. You’ll be able to seal the wood butterfly to make it last longer.
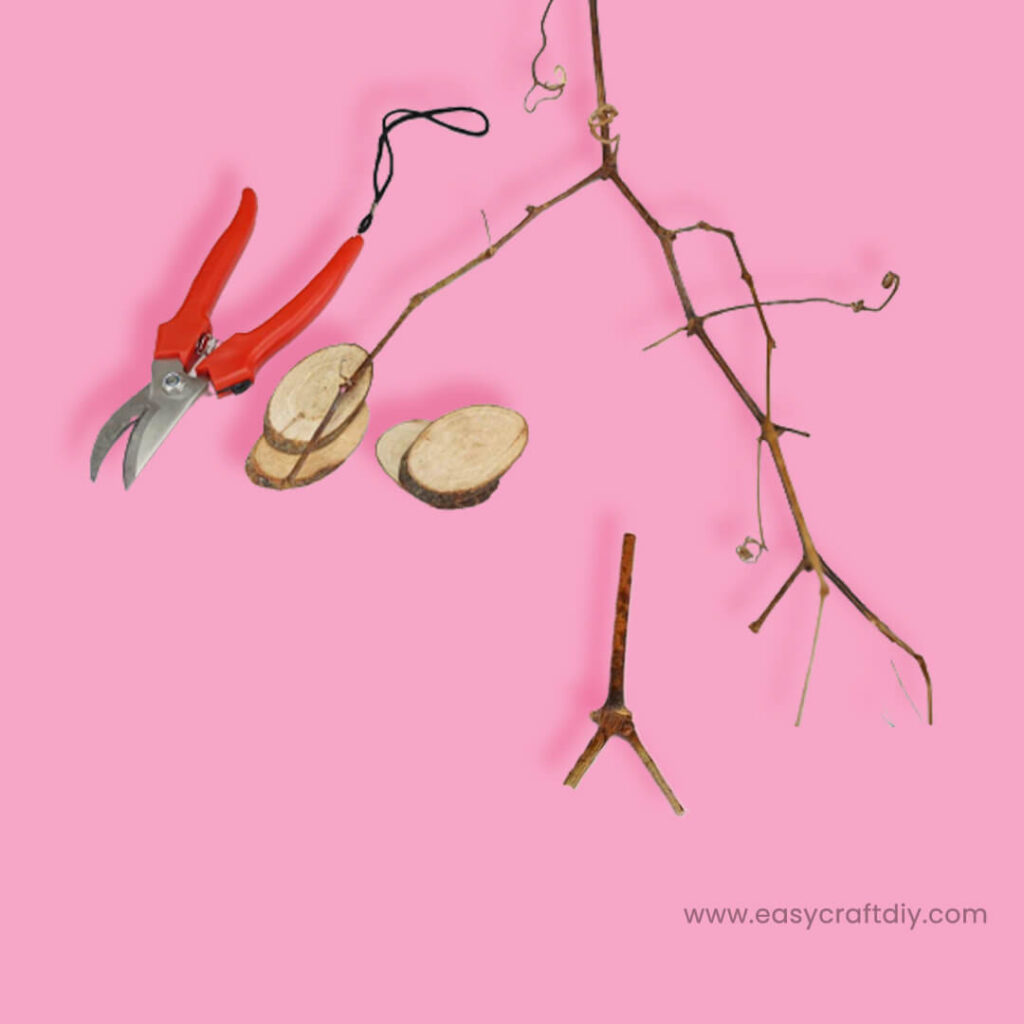
Supplies required for Wood Slice Butterfly
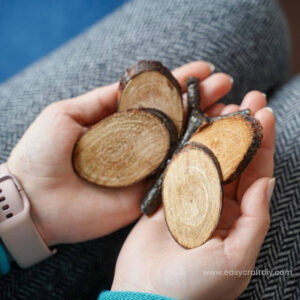
- Four oval wood slices
- One tiny branch
- Hot glue gun
- Hot glue sticks
- Pruner/cutter
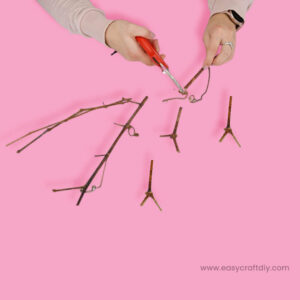
How to Build a Wood Slice Butterfly
Cut four wood slices at the Associate in Nursing angle to be oval.

Then cut a four to 5″ length of a branch with a forked finish.
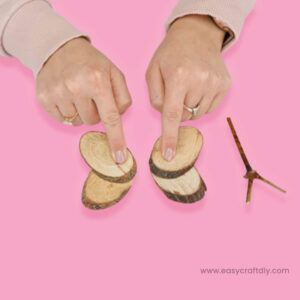
Glue the wood slices into two separate sets of 2 with the pieces sportfishing one up and one down on each.
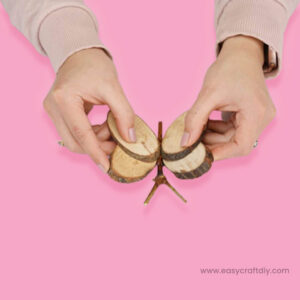
Attach these two sides to the branch within the middle with hot glue.
If desired, add a further leaf, glitter, paint, or one thing like the butterfly.