
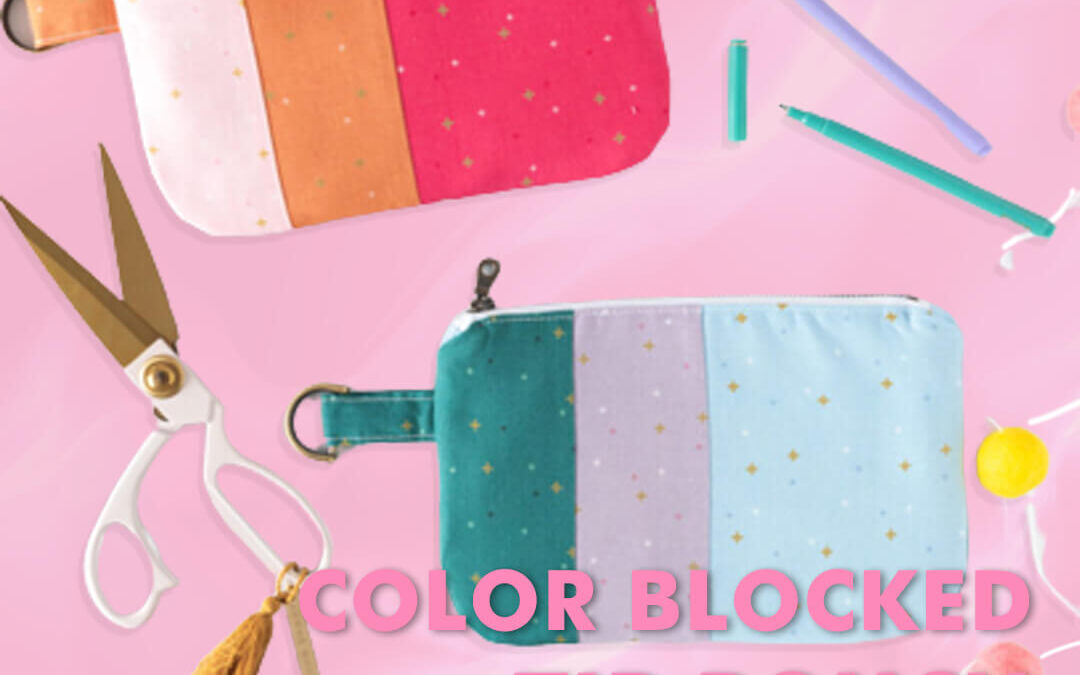
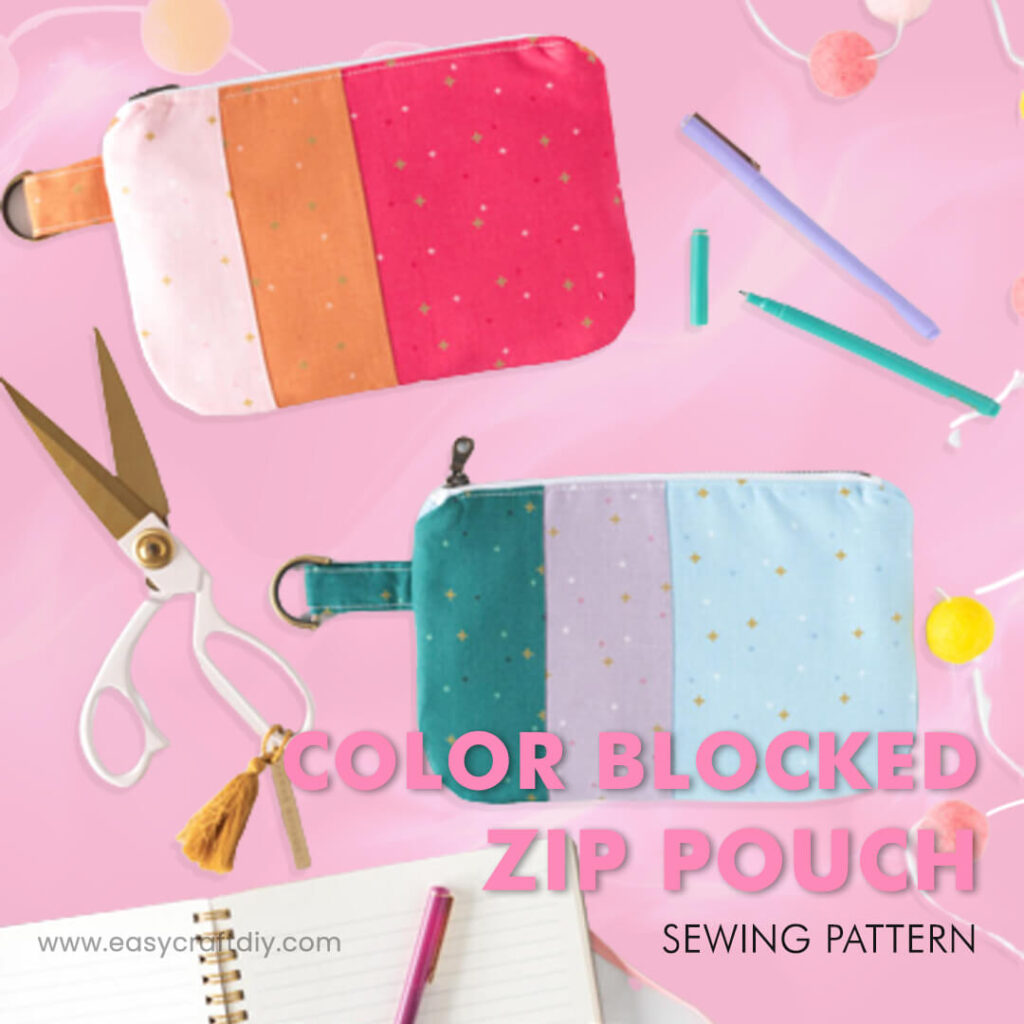
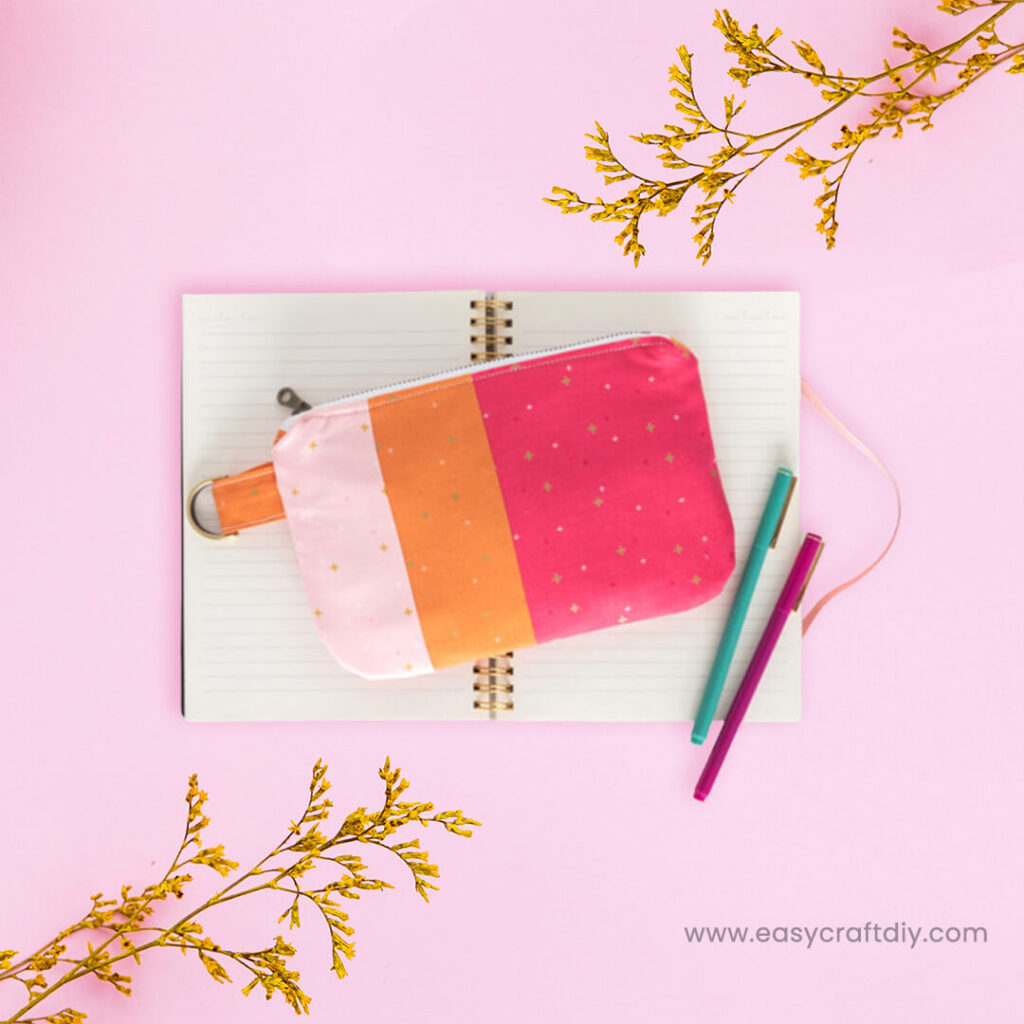
Create a stylish and oh-so-beneficial zippered pouch with our unfastened Color-Blocked Zip Pouch Sewing Pattern. This grab is straightforward to assemble and makes a perfect gift!
Oh, how We love an easy zip pouch! We suppose they’ll be one in every one of my favorite matters to stitch! We consider the primary time we made one, and it became out nicely; we felt an extensive experience of accomplishment!
We’ve made dozens more because we stitched my first zippered grab in the years. We don’t understand if I can rely on how many. They are the appropriate little undertaking when you need to stitch something quickly but amusing and beneficial. We have a group of comparable zip baggage we supply while traveling—one for cords, another for gum, one for lip balm, etc.
About the Color-Blocked Zip Pouch Sewing Pattern
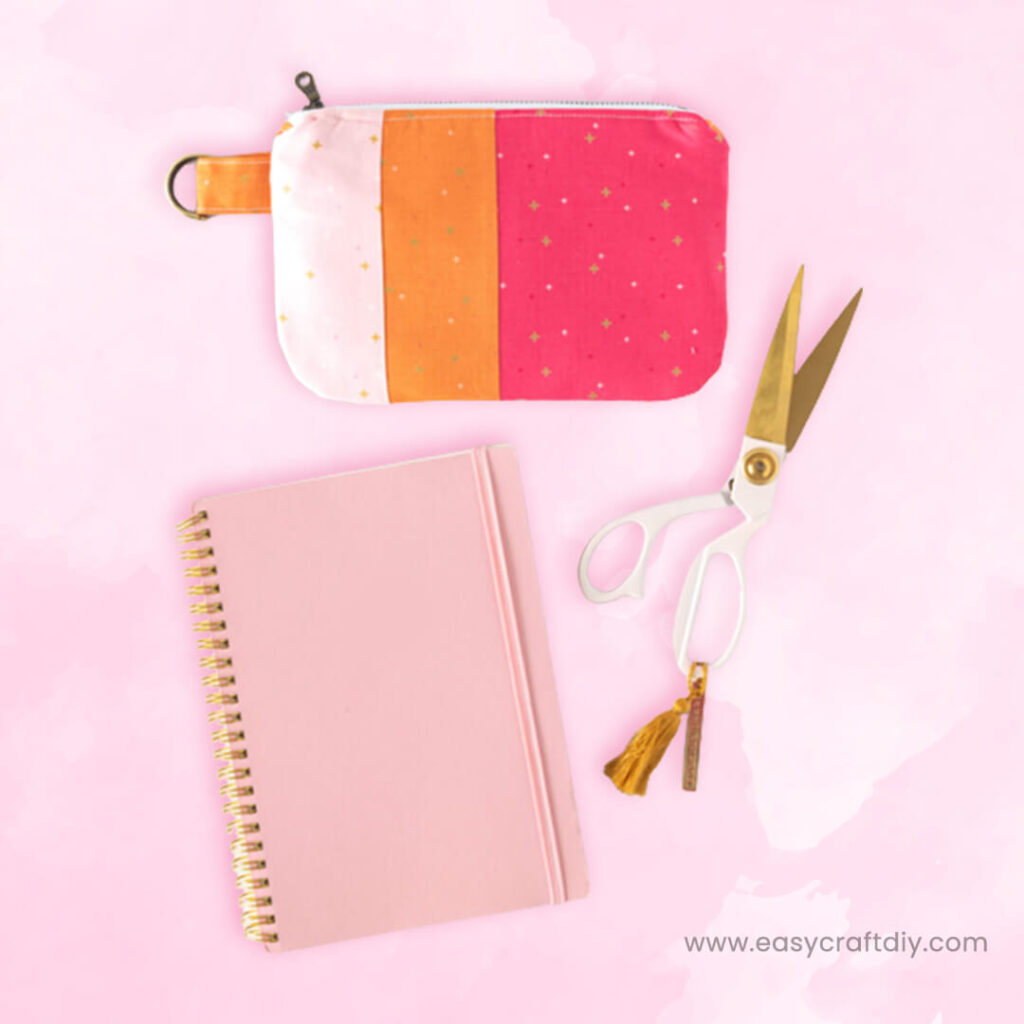
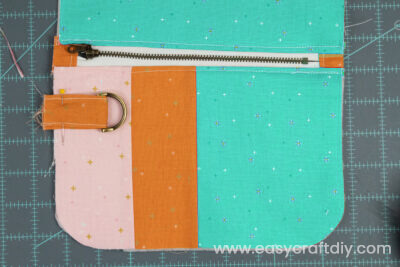
When finished, this zip pouch measures about 8″ massive with the aid of using 5″ tall. It capabilities a metallic zipper and a D ring at the facet so you can connect a key ring or lanyard.
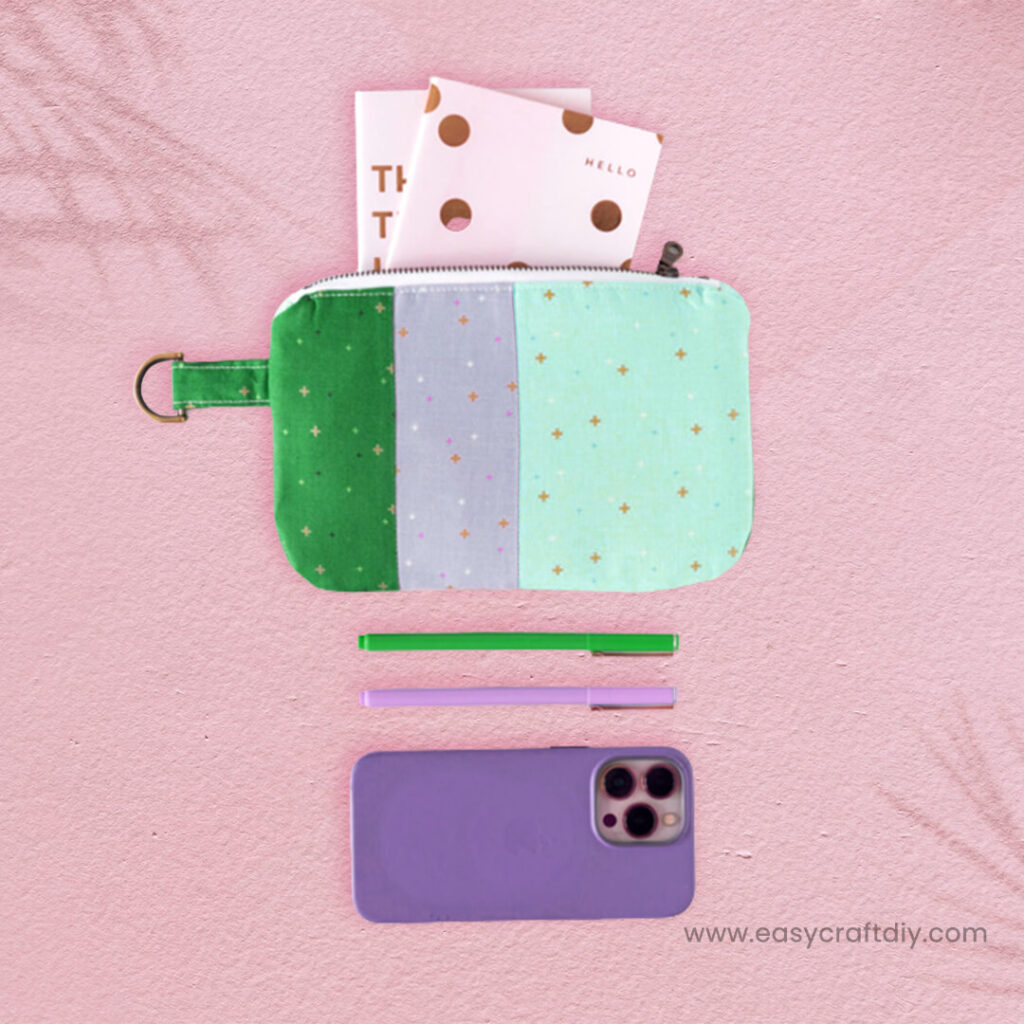
This bag is a bit more special than many of the zip bag tutorials we’ve shared withinside the beyond in that its capabilities round corners. We additionally delivered zip tabs to the ends of the zipper.
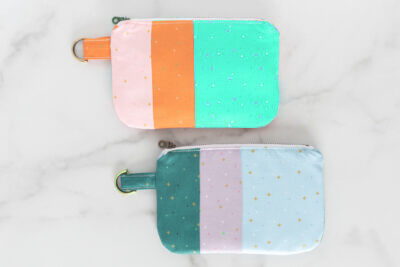
We created color-blocked variations of this bag. For example, one provides pinks and oranges, one in green, lavender, and child blue.
Fabrics We need
- Baby Pink
- Pumpkin
- Raspberry
- Jade
- Lilac
- Boy Blue
The baggage is completely covered as well.
Supplies Required to make Color-Blocked Zip Pouch Sewing Pattern
- 1 Fat Quarter of Fabric for Bag Lining
- three portions of material at the least 6″ x 9″ for the back and front of the bag
- 7″ metallic zipper
- Fusible Fleece
- Lightweight Fusible Interfacing
- Purse D Ring
- Iron
- Sewing Machine
- Sewing Notions
A few steps are special. However, the quantities of the academics that you could discover a chunk complex are the same.
Color-Blocked Zip Pouch Sewing Pattern
Learn how to make an easy zip pouch with curved aspects using our unfastened stitching pattern.
Prep Time: 30 mins
Active Time: 2 hrs.
Total Time: 2 hrs. 30 mins
Yield: 1 Pouch
Materials required for Color-Blocked Zip Pouch Sewing Pattern
- One-piece Fabric 6″ x 9″ for bag
- three portions of Fabric 6″ x 6″ or large bag stripes
- 1 Fat Quarter Fabric for Bag Lining
- One package deal Fusible Fleece
- One package deal Lightweight Interfacing I decide upon Shape-Flex
- 1 Zipper 7″
Instructions
Cutting Directions:
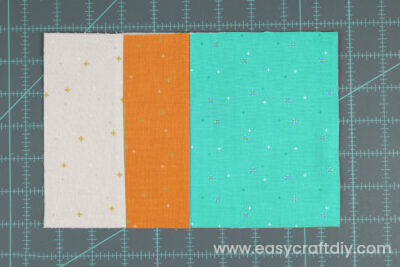
- For Left Stripe Cut: 1 piece two ¾” x 6″
- For Center Stripe Cut: 1 piece 2 ½” x 6″
- For Right Stripe Cut: 1 piece four ¾” x 6″
- For Bag Back Cut: 1 piece 6″ x 9″
- For Bag Lining Cut: 2 portions 6″ x 9″
- From Fusible Fleece Cut: 2 portions 6″ x 9″
- From Lightweight Interfacing Cut: four portions 6″ x 9″
- From Accent Fabric Cut:
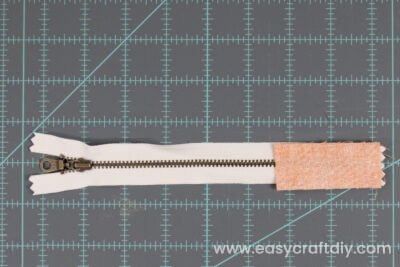
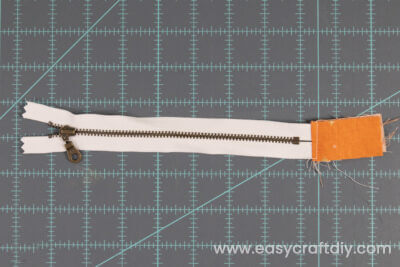
- four portions 1″ x 2″ for zipper tabs
- One piece 2 ½” x four” for D ring attachment
Step to make Color-Blocked Zip Pouch Sewing Pattern
Step One: Create the Bag Front
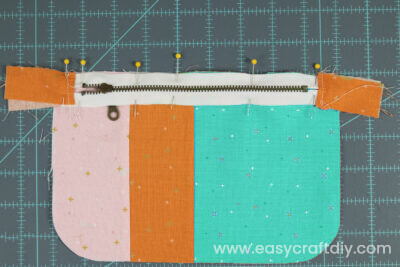
Sew the Left, Center, and Right bag the front strips collectively using a ¼” seam allowance.
Press the seams and trim to 6″ x 9″ if necessary.
Step Two: Interfacing
Following the instructions at the package deal, observe interfacing to the subsequent portions.
Lightweight Interfacing: Apply the front, bag again, and lining portions to the bag.
Fusible Fleece: Apply to the bag lining portions on the pinnacle of the lightweight interfacing.
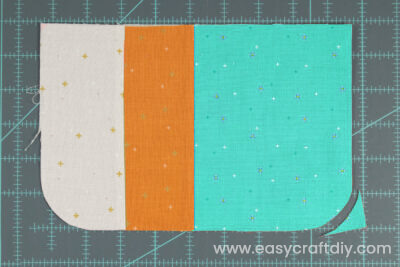
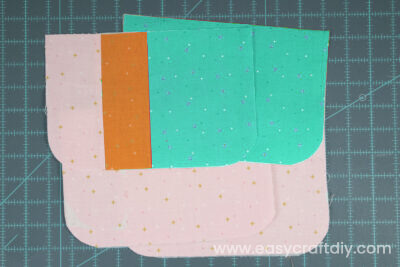
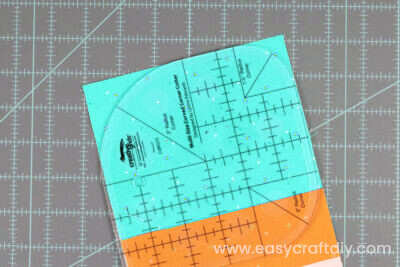
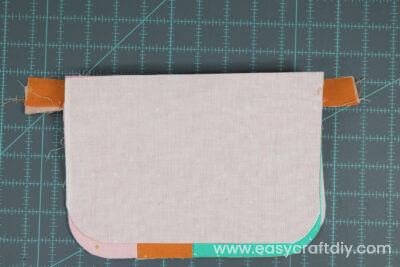
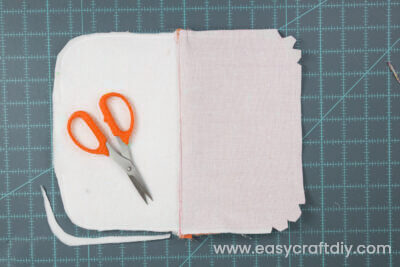
Step Three: Round Corners
Step Four: D Ring
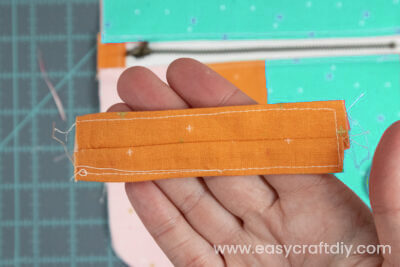
Fold the two ½” x four” piece of material in 1/2 of lengthwise and stitch with a ¼” seam allowance. Turn proper facet out.
Press the piece so that the seam is centered—Topstitch down each aspect of the work.
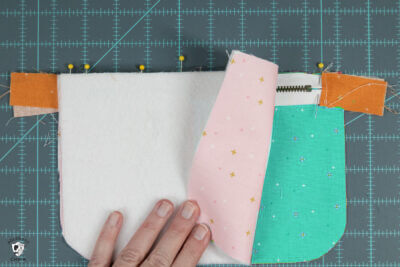
Feed the D ring via the material and pin to the bag the front piece approximately 2″ down from the pinnacle of the pack. Stitch in place. Pin the D ring so it does now no longer get inside the way you end the bag assembly.

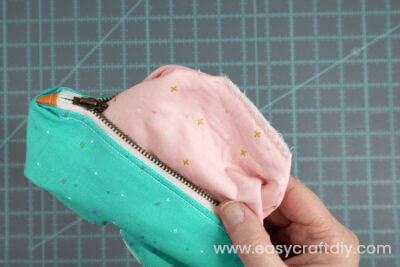
Step Five: Assembly
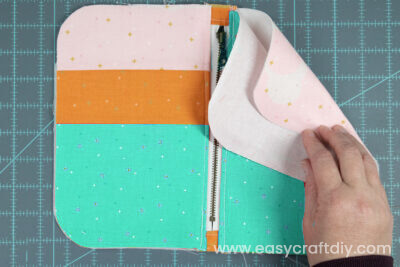
Unzip the zipper.
Pin the bag the front and bag again portions collectively, proper aspects facing. Pin the bag lining portions collectively with appropriate elements facing.
Stitch across the perimeter of the bag with a ⅜” seam allowance. Be VERY cautious while you are sewing over the vicinity with the zipper. Make sure that you no longer stitch over any of the metallic elements of the zipper.
Leave a three” beginning at the covering feature of the pack.